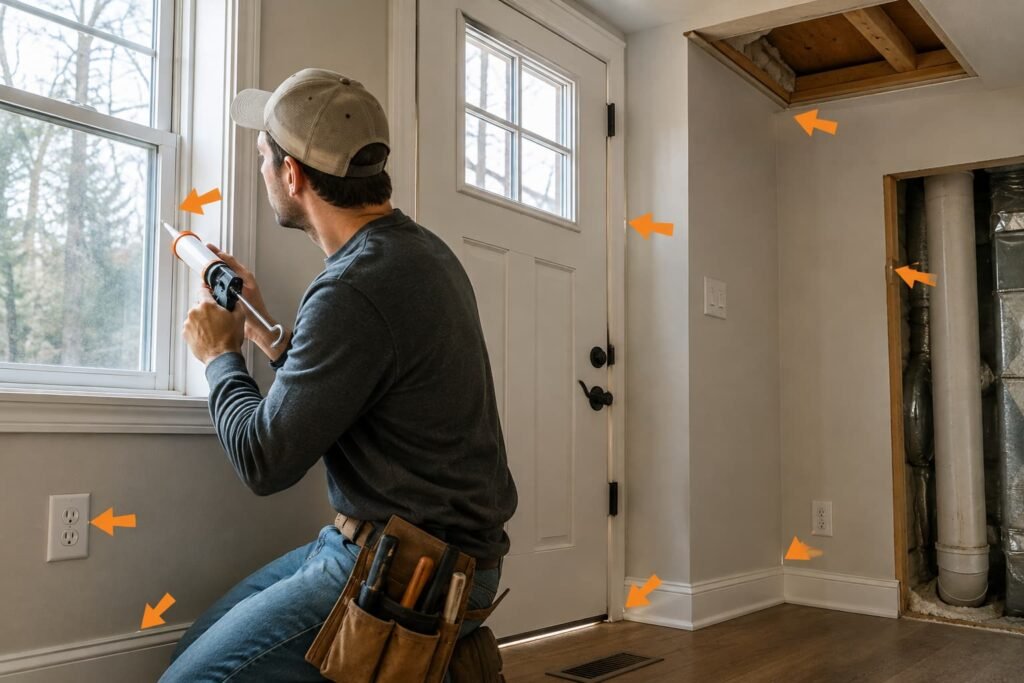
Exterior door not sealing? Adjust the door before you buy more weatherstripping. Work in this order: tighten the hinges so the door hangs square, move the strike plate so the latch pulls the door snug against the weatherstrip, reset the stop if one top corner still gaps, then raise the adjustable threshold until the door bottom makes contact. Weatherstripping only seals a door that already closes evenly against it, which is why the new kit can still leak at one corner.
Below: how to find the gap, which fix matches which gap, and where the job belongs to a carpenter instead of a screwdriver.
Why a Door Stops Sealing, Even With New Weatherstripping
Weatherstrip seals by compression. The door has to press into it evenly along the head, both sides and the bottom. A door that sags, springs back or twists presses hard in one spot and not at all in another, and air finds the spot it misses.
The usual causes are ordinary. Hinge screws loosen in the jamb after years of a heavy slab swinging on them. Wood doors and jambs swell and shrink with the seasons. Houses settle. A strike plate set for the old, flattened weatherstrip never pulls the door far enough into a fresh one, or the new, thicker strip keeps the door from latching fully. An adjustable threshold drifts low.
The U.S. Department of Energy puts adjustment first, too. Its Install Weatherstripping on an Exterior Door job aid for weatherization installers (dated June 2024, which we read on September 23, 2026) says: "Visible daylight or loose fitting exterior doors are common indicators of air leakage. Make adjustments (e.g., loose hinges, knobs, strike plates, etc.) to the door as needed prior to weatherstripping."
Find the Gap Before You Adjust Anything
Adjusting blind wastes an afternoon. Map the leak first.
- Paper test. Close the door on a strip of paper every foot or so around all four sides. Where the paper slides out with no drag, the weatherstrip is not touching.
- Daylight check. At night, turn the porch light on and the inside lights off, then look at the perimeter from inside. Any line of light is a gap.
- Smoke check. On a windy day, hold a lit incense stick near the edges. Smoke that bends sideways marks moving air.
Mark each gap with painter's tape, then match it to a cause:
| Where the gap is | Most likely cause | Start with |
|---|---|---|
| Top corner on the latch side, and the door rubs low on the latch side | Door sagging on a loose top hinge | Hinges |
| Whole latch side gaps evenly, top to bottom | Strike too far from the stop, so the latch never pulls the door in | Strike plate |
| One top corner only, door latches fine, rest is tight | Door or jamb twisted out of flat | The stop, or the warp fix |
| Hinge side gaps and the door springs back as it closes | Hinge-bound door (hinge set too deep) | Hinges |
| Light under the door | Threshold set low, or door bottom seal worn | Threshold |
| Light at the two bottom corners only | Corner seal pads missing or crushed | Threshold corners |
When This Is Not a Screwdriver Job
Some doors need a carpenter or door installer, and it saves money to know before you start. Push a screwdriver into the jamb and sill near the bottom. If the wood is soft or crumbles, that is rot, and adjusting a rotted jamb only moves the problem. If the drywall over the door has diagonal cracks at the corners, the floor slopes toward the door, or the door rubs in a new place every season, the framing may be moving, and the opening itself needs resetting.
Before planing a door or modifying the frame, read the door's warranty paperwork. Some makers cover warp beyond a stated limit, and cutting the slab can affect that coverage.
Two practical cautions. A solid exterior door is heavy, so get a helper if it comes off the hinges. And before driving long screws into the jamb, check for a light switch or doorbell wire in the wall beside it, and keep screws clear of them.
Exterior Door Not Sealing? Adjust It in This Order
Hinges first, because every other adjustment depends on where the door hangs. Then the latch side, then the corners, then the bottom. Change one thing, test with paper, then move on.
Step 1: Tighten and Correct the Hinges
Open the door halfway and lift the knob end. If a hinge leaf moves, its screws are loose. Tighten every screw on both leaves.
If a screw spins without biting, the hole is stripped. Glue a wooden golf tee or a few hardwood slivers into it, let it dry, trim flush and drive the screw again.
For a door that sags at the top latch corner, replace one screw in the jamb leaf of the top hinge with a screw long enough to pass through the jamb and reach the wall framing behind it, commonly about 3 inches. The hole nearest the doorstop usually lines up with the framing. Drive it snug and watch the latch side gap close. Stop before the jamb bows inward, or the door will bind. If the sag remains, do the same on the middle hinge.
A door that springs open as you close it is hinge-bound: a hinge is set too deep. A thin cardboard shim behind that hinge's jamb leaf usually cures it.
Step 2: Move the Strike Plate So the Latch Pulls the Door In
With the door hanging square, close and latch it, then push on the latch side. If the door moves toward the weatherstrip, the latch is holding it too loosely. The strike opening needs to sit closer to the doorstop so the latch holds the door firmly against the seal.
Small shifts are done by relocating the strike: remove it, glue and plug the old screw holes, chisel the mortise a little toward the stop, and reinstall. An adjustable strike, sold at hardware stores, lets you make this change with a screw instead of a chisel. If the plate is not seated on solid wood, a shim behind it keeps the screws from pulling the jamb out of line as you tighten.
Two checks after any strike move. First, the deadbolt usually needs the same shift, or it will stop throwing cleanly. Second, the door should latch with a firm push, not a shoulder. If new weatherstripping made the door hard to latch, the fix runs the other way: the strike moves a hair away from the stop.
Step 3: Fix the Top Corner That Still Leaks
This is the leak most guides skip: new weatherstrip, tight latch, and a gap at one top corner anyway. The door or the jamb is twisted, so the corner farthest from the latch never reaches the seal. A tighter strike will not help, because the latch is nowhere near that corner.
Check it: lay a long straightedge corner to corner across the door face, both diagonals, and look for daylight under it.
If the doorstop is a separate strip nailed to the jamb, you can make the stop follow the door. Pry it off, close and latch the door, press the stop lightly against the door along its full height, and nail it in fresh spots. Many pre-hung steel and fiberglass units instead hold the weatherstrip in a slot in a solid jamb, and that stop cannot move. There, a weatherstrip profile with more reach, or a tapered shim behind a nailed-on strip at the corner, takes up the gap.
A wood door may relax as humidity changes, and sealing all six faces, including the top and bottom edges, helps it stay flat. A steel or fiberglass door that stays twisted is a warranty question.
Step 4: Raise the Adjustable Threshold
Many inswing entry doors sit on an adjustable threshold: a cap along the sill held by screws, often hidden under small plastic plugs. Turning those screws raises or lowers the cap. Turn each one a little at a time, the same amount at every screw, so the cap stays level. Retest with paper at several points along the bottom. You want a light drag, not a door that scrapes the cap.
Therma-Tru's SITE 5 Repair and Replacement manual (2017 edition, which we read on September 23, 2026) tells installers to "make any sill adjustments, if necessary, for a proper seal," then, after the final threshold adjustment, set corner seal pads into a bead of sealant at the sill and jamb joint, tucked behind the weatherstrip. If light shows only at the two bottom corners, those pads are the first thing to look at.
A fixed threshold has no adjustment. There, the fix is a door bottom seal with more reach. A sill that is rotted or cracked belongs to a door installer.
Still Drafty After Every Adjustment?
If the paper drags all the way around and you still feel cold air, the leak may not be the door seal at all. Air often comes around the frame: through the gap between the jamb and the rough framing, hidden behind the trim. Feel along the casing where it meets the wall. A draft there means the frame is leaking, not the seal. The outside joints get caulk, and the space behind the trim needs low-expansion foam made for window and door frames, since standard foam can push a jamb out of line. Our guide to matching caulk, foam or backer rod to the gap covers which product fits which joint.
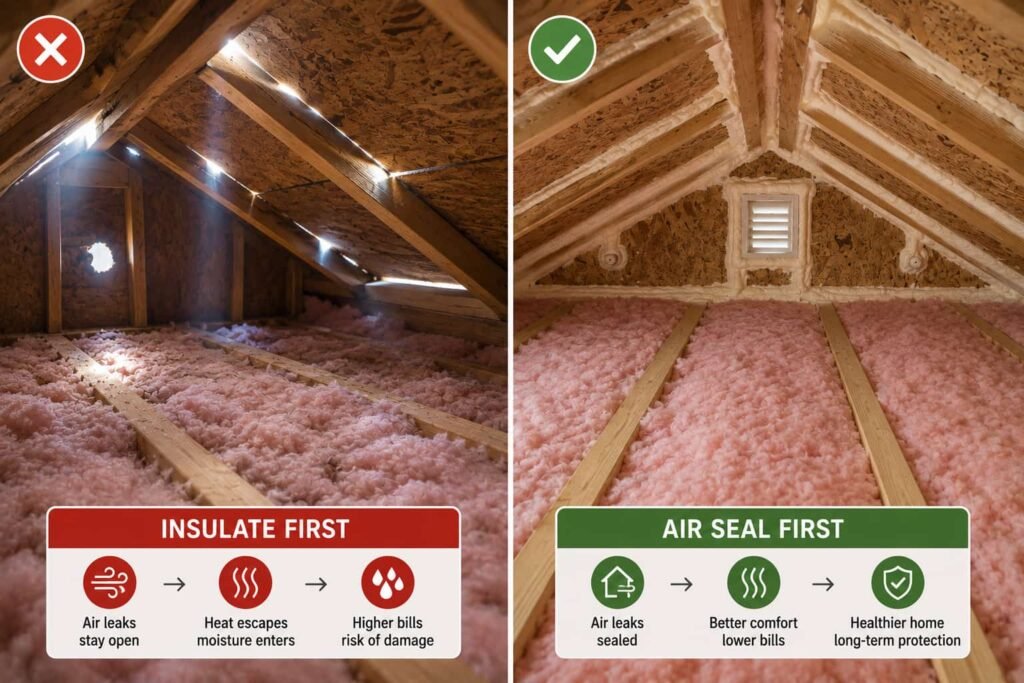
It is also fair to ask whether the front door is your biggest leak. It is the one you notice because you stand next to it. The bigger openings are often in the attic and basement, and our guide on how to air seal your house, starting where the leaks actually are walks through the order. A DIY home energy audit will show where your own house loses the most heat before you spend more time on one door.
Check That the Door Now Seals
Repeat the paper test at every mark you made, and repeat the night daylight check. Open and close the door ten times: it should latch with a normal push, and the deadbolt should throw without lifting or pushing the door. Look again after the next change of season, since wood doors and jambs move.
For a real measurement, the DOE job aid's installer checklist says to verify that the weatherstripping stops air infiltration "with blower door and smoke," and to "adjust door as required to properly fit the jamb and allow for ease of operation." If you have a blower door test booked, that is the moment to walk the door with incense while the house is depressurized. Our blower door test explainer covers what the number means.
That job aid was written for DOE's Weatherization Assistance Program. If you want to know whether that program serves your area, confirm current details on DOE's live program pages rather than relying on this summary.
FAQ
Why does my exterior door still leak after new weatherstripping?
Because the door is not closing evenly against it. A sagging, loose or twisted door compresses the new strip in some places and misses others. Tighten the hinges, then adjust the strike, the stop and the threshold, testing with a strip of paper after each change.
How do I know if my exterior door is warped?
Close and latch the door, then look for a gap that is wide at one top corner and narrows to nothing along the edge. Confirm by laying a long straightedge corner to corner across the door face, on both diagonals. Daylight under the straightedge means the slab is not flat.
Which way do I move the strike plate to make a door seal tighter?
Toward the doorstop and weatherstrip. The latch then has to hold the door further into the seal before it catches. Move the deadbolt strike by the same amount, and stop when the door needs a firm push to latch, not a shove.
Should I raise the threshold or replace the door bottom?
Check the door bottom seal first. If it is torn, flattened or missing sections, replace it. If it is in good shape and you still see light, raise the adjustable threshold a little at a time, keeping it level, until the paper drags along the full width.