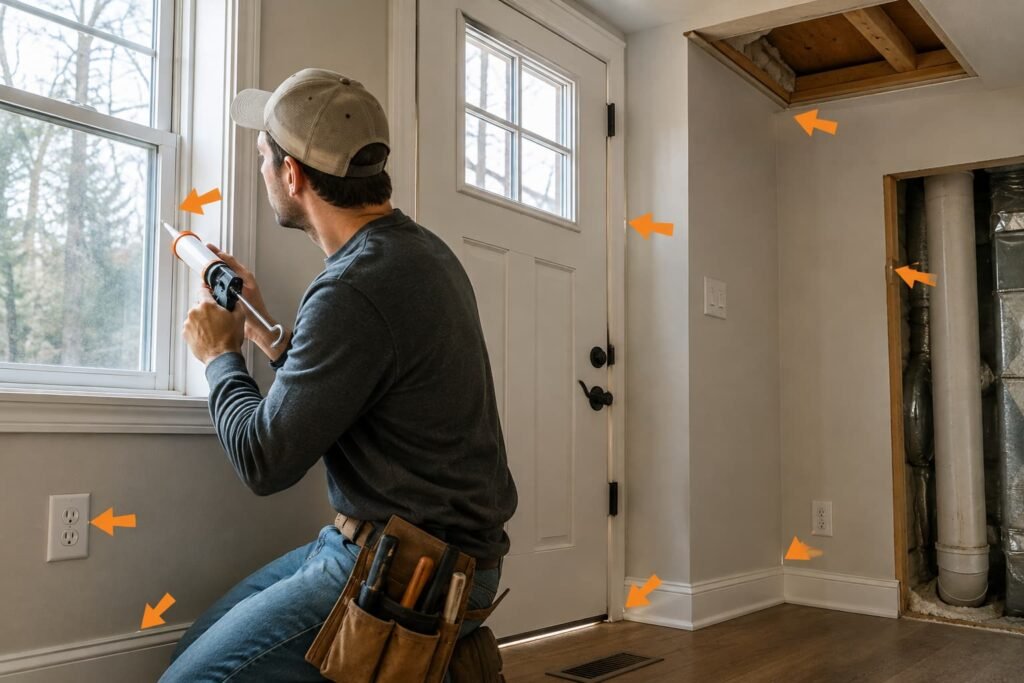
To replace door weatherstripping, pull the old strip out of the jamb, clean the groove or surface, and press or fasten a matching new strip along the hinge side, the top and the latch side. Trim it to length. Then replace the corner pads and the sweep or door bottom at the base. Close the door on a sheet of paper to test the seal. Most exterior doors need only scissors, a utility knife, a tape measure and a screwdriver.
The install is the easy part. The hard parts are buying the right profile and fixing the piece that actually leaks. This guide starts there.
Is it worth it? On its Seal and Insulate page, which we read on September 23, 2026, ENERGY STAR says sealing air leaks and adding insulation can provide "up to a 10% savings on your annual energy bills." That figure is for the whole house, sealing and insulation together, not for one front door. What one door saves depends on your climate, the size of the gap and how leaky the rest of the house is, so we will not put a number on it. What you do get is comfort you can feel the same day.
First, Find Which Part of the Seal Is Failing
An exterior door seals with four parts working together: the weatherstrip on the jamb (hinge side, top and latch side), the corner pads at the two bottom corners, the sweep or door bottom, and the threshold the door closes onto. Replacing the wrong one wastes a trip to the store.
Run three checks with the door closed. Turn off the lights inside on a sunny day and look for daylight around the edges. Close the door on a sheet of paper at several points; if it slides out with no drag, the seal there is loose. On a windy day, hold a lit incense stick near the edges and watch for smoke pushed sideways.
If you already did a DIY home energy audit to find where your house loses heat, your notes on this door are the starting point. Match what you found to the part:
| What you notice | Part most likely failing | First thing to try |
|---|---|---|
| Daylight along the latch side or top | Jamb weatherstrip | Replace the strip |
| Light or a draft at a bottom corner only | Corner pad | Replace both corner pads |
| Cold air across the floor, light under the door | Sweep or door bottom | Replace it, or raise an adjustable threshold |
| Paper slides out at one spot only | Strip crushed flat there, or door out of line | Replace the strip; if the new one is still loose, adjust the door |
| Draft felt at the trim, not the door edge | Gap between the frame and the wall | Seal behind the trim, not the weatherstrip |
| Water on the floor after rain | Corner pads, door bottom or sill | Replace pads and bottom; a soft sill needs a door technician or carpenter |
Identify the Weatherstrip You Have Before You Buy
Open the door and look at the jamb, the frame the door closes against. Three types cover most exterior doors.
- Kerf-in (compression) strip. A foam-filled or hollow bulb with a thin flat fin pressed into a narrow slot, called a kerf, cut into the jamb. Common on prehung steel and fiberglass doors and many newer wood doors. It pulls out and presses in by hand.
- Surface-mounted strip. Older wood doors often have no kerf. The seal is nailed, stapled or stuck on: a vinyl or spring-metal V-strip, adhesive foam tape on the door stop, or felt.
- Magnetic strip. Some steel doors use a strip with a magnet inside that grabs the steel door face, usually on the latch side and top.
The easiest way to buy right is to pull a few inches of the old strip loose and take it to the store, or photograph its end next to a tape measure. Check the door edge and hinge jamb for a brand label too. Door makers such as Therma-Tru, and component makers such as Endura, sell strips and pads matched to their own kerf spacing. A generic strip that is slightly too thin will look fine and seal badly.
Know Your Door Bottom: Sweep, Door Bottom or Threshold
With the door open, crouch down and look at its underside. What you find decides what you buy.
- Kerf-style door bottom. Rubber or vinyl fins pushed into two slots cut in the bottom edge of the door. Very common on prehung steel and fiberglass doors.
- U-shaped door bottom. A channel that wraps the bottom edge and slides on or screws in through its sides.
- Face-mounted sweep. A metal or vinyl strip screwed to the inside face of the door with a rubber fin or brush along its lower edge. This is the easy retrofit for a door with nothing at the bottom.
Now look at the threshold, the strip on the floor under the door. Many have a raised cap held by screws that lets you raise or lower it. If the bottom seal is in good shape but light still shows underneath, raising an adjustable threshold slightly may close the gap with no new parts.
Measure the door's width and thickness before you shop. Door bottoms are sold to fit standard widths and are trimmed to length.
Tools and Materials
For a typical kerf-in door, the list is short:
- Replacement jamb weatherstrip in the matching profile, enough for both sides and the top
- Two corner seal pads, if your door uses them
- Replacement sweep or door bottom, sized to the door width
- Scissors or a sharp utility knife, plus a fine-tooth saw for a metal-backed sweep
- Tape measure and a putty knife or flat screwdriver
- Screwdriver and a drill with a small bit for pilot holes
- Rubbing alcohol and a rag for cleaning adhesive surfaces
- Safety glasses
If you plan to take the door off its hinges, have a second person. An exterior door, especially steel or solid wood, is heavier and more awkward than it looks, and the bottom edge can drop onto a foot fast.
How to Replace Door Weatherstripping Step by Step
These steps fit a kerf-in jamb strip, the most common type on newer doors.
- Start at the top. Grab the old strip near a top corner and pull it straight out of the kerf. Work down each side. If it tears, pry the leftover fin out with a putty knife.
- Clean the kerf. Brush out grit, paint flakes and old bits of fin so the new strip seats fully.
- Install the top piece first. Press the flat fin into the kerf along the head jamb, from one end to the other. Push with your thumb; do not hammer it.
- Run the sides. Start each side at the top, snug against the top piece, and press the fin in down the length of the jamb.
- Trim to length. Cut the strip so it just meets the threshold or corner pad at the bottom. Leave no gap where pieces meet.
- Close the door gently. The strip should compress evenly and the latch should catch without a hard push.
For a surface-mounted strip, remove the old fasteners or adhesive, clean the surface with rubbing alcohol and let it dry before fastening the new strip. Stick-on foam grips poorly on cold, damp or dusty wood, so follow the temperature range printed on the package.
Replacing the Door Sweep or Door Bottom
For a face-mounted sweep, close the door and hold the new sweep against the inside face so its fin just touches the threshold. Tape it in place, open and close the door to check it does not drag, then mark the screw holes. Drill pilot holes a little narrower than the screws and fasten it. Slotted holes let you adjust the height later.
For a kerf-style door bottom, pull the old one off the bottom edge. If the fins will not come free with the door hanging, take the door off its hinges with a helper and lay it on padded sawhorses. Cut the new bottom to the door width, press the fins into both slots and rehang the door.
For a U-shaped door bottom, slide the old one off, cut the new one to width, slide it on and put the side screws back.
Buy the same style you remove. A face sweep screwed onto a door built for a kerf-style bottom rarely seals as well as the part the door was designed for.
Do Not Skip the Corner Pads
Corner seal pads are small foam or rubber blocks at the bottom of each jamb, where the weatherstrip, door bottom and threshold meet. They fill a gap none of those three parts can reach alone. They are also the part most people forget. A door with a new strip and a new sweep can still pull cold air, or let rain in, at the bottom corners if the pads are old.
On many prehung doors the pad sticks to the jamb with adhesive backing. Peel off the old one, clean the spot with rubbing alcohol, and press the new pad into position so it touches the threshold and the end of the jamb weatherstrip. Match the shape to the one you removed. Some door makers use a shaped pad designed for their own frame, so a pad from the same maker is the safe choice.
Replace both corners at once. They wear at the same rate.
Test the New Seal
Repeat the checks you ran at the start: daylight, paper and incense. With the paper test, you want to feel some drag at every point on each side and across the bottom.
Then check that the seal is not too tight. The door should latch with a normal push. If you have to lean on it, or it springs back open, give it a few days, since new compression strips often ease a little. If it is still hard to close, the strip is likely too thick for your gap.
Watch the bottom as the door swings, too. A sweep that drags across the floor or a rug wears out fast and makes the door hard to open.
When New Weatherstripping Still Does Not Seal
Sometimes the strip is new and the paper still slides out at one spot, usually the top corner on the latch side. That is rarely the strip. It usually means the door has sagged or the latch is not pulling it tight. Loose hinge screws and a strike plate set too far out are the common causes, and fixing them is door adjustment, not weatherstripping.
Two other problems a strip cannot fix:
- Rot in the jamb or sill. A soft, dark or crumbling bottom corner needs repair by a door technician or carpenter before any seal will hold.
- A draft at the trim, not the door edge. That air comes through the gap between the door frame and the wall framing, behind the casing. Picking the right caulk, foam or backer rod for the gap is the fix, not a thicker weatherstrip.
If that behind-the-trim job means prying off old painted casing, check the age of the house first. ENERGY STAR's Sealing Behind Window and Door Trim page, read on September 23, 2026, rates the job moderate to difficult. It says homes built before 1978, or any work that disturbs paint, call for a look at EPA's Lead Renovation, Repair, and Painting Program resources before you start.
Where the Door Fits in the Bigger Air-Sealing Picture
The front door is the leak you can see, which is why it gets fixed first. It is often not the biggest one. The same ENERGY STAR trim page says projects like these "may have less impact on energy use than those in the attic and basement," while being the more accessible areas. That is a fair summary. Replace the weatherstrip because it is quick and you can feel the difference, but do not stop there.
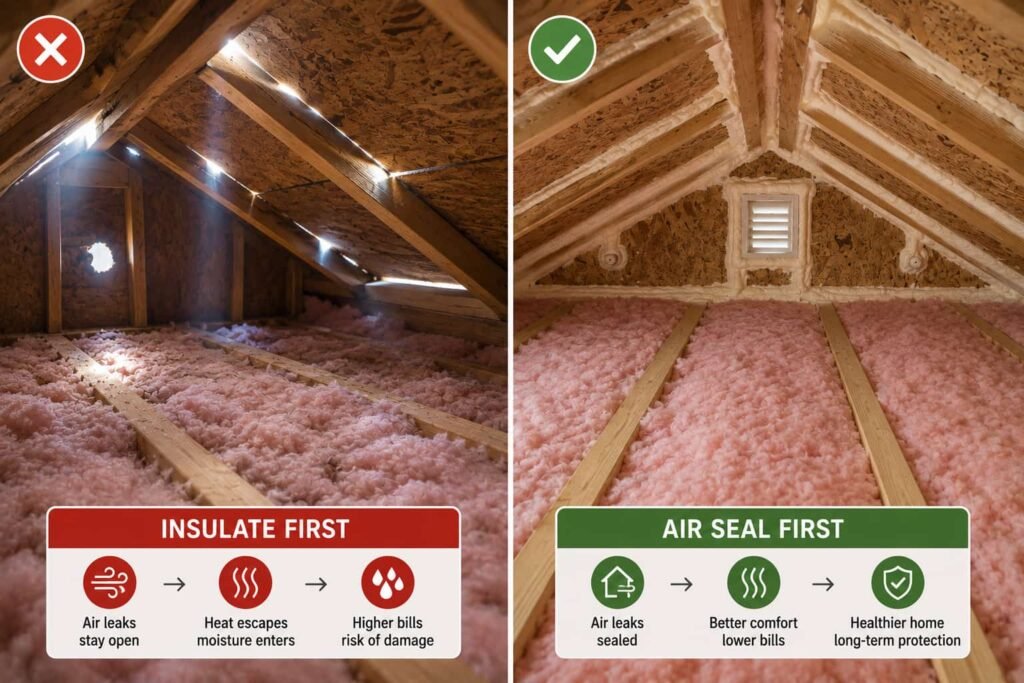
The bigger holes are usually out of sight: attic top plates, plumbing and wiring penetrations, the rim joist in the basement. Our guide on how to air seal your house and where the leaks actually are walks through them in order. If you want to know how leaky the whole house is, a blower door test and what its number means gives you a measurement instead of a guess. With the blower door fan running, a worn door seal is easy to find, because the fan pulls air through every gap at once.
Frequently Asked Questions
How do I know if my door weatherstripping needs replacing?
A strip that is flattened, cracked, hard, torn or missing in spots is done. With the door closed, look for daylight at the edges and try the paper test. If the paper slides out with no drag, that section is not sealing. A check every fall, before heating season, catches it early.
Can I replace door weatherstripping without removing the door?
Usually, yes. Kerf-in jamb strips, surface-mounted strips, corner pads and face-mounted sweeps all go on with the door hanging. Some kerf-style door bottoms need the door off its hinges so you can reach the slots, and that is a two-person job.
Should I use a door sweep or a door bottom?
Use what the door was built for. Slots in the bottom edge mean a matching kerf-style door bottom. A U-shaped channel means the same again. A face-mounted sweep suits a door with no bottom seal at all, and it is the easiest to install.
Will new weatherstripping lower my energy bill?
It can help, but we cannot give you a number for one door. ENERGY STAR's estimate of up to 10% on annual energy bills covers sealing air leaks and adding insulation across the whole house, not a single door.
When should I call a professional instead?
Call a door technician or carpenter if the jamb or sill is rotted, the door is badly out of square, or the frame has shifted. New weatherstripping will not fix a frame problem.