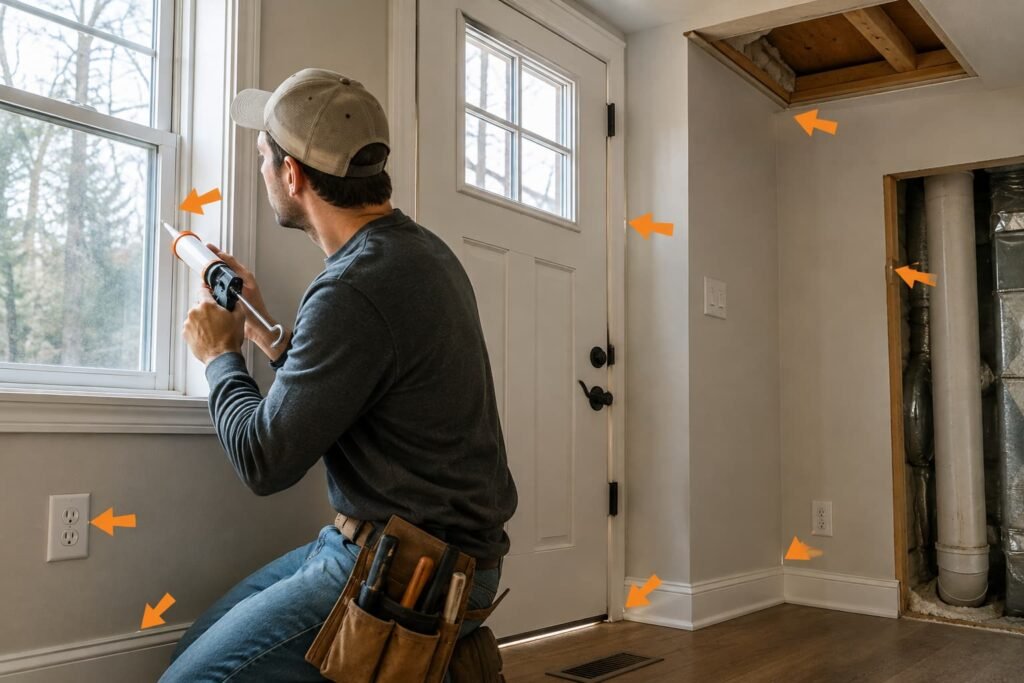
When you caulk around windows exterior joints, seal the gap where the window frame or its trim meets the siding, brick or stucco on the top and both sides. Do not seal the weep holes at the bottom of the frame, the drainage gap under the sill, or the space between a head flashing and the siding above it. Those openings let water out. Use an exterior-rated sealant that the label says bonds to both surfaces, and put backer rod in any gap wider than a quarter inch.
Before you climb: when this is a job for someone else
Exterior caulking is ladder work, and that is where the risk is. A bad bead is easy to redo. A fall is not.
Hire a painter or a window contractor if any of these apply:
- The window is above a first-floor reach. If you would need an extension ladder to get there, we recommend hiring it out. This article does not cover working at height.
- There are overhead power lines near where the ladder would go. OSHA's Portable Ladder Safety QuickCard, which we read on September 27, 2026, says to look for overhead power lines before handling a ladder and to avoid using a metal ladder near them.
- Your house was built before 1978. Scraping old caulk and paint can disturb lead paint. ENERGY STAR's trim-sealing guide says a home built before 1978 may need a professional to safely handle hazardous lead paint chips.
- The window already leaks into the wall. Caulk will not fix a failed flashing. That needs a window installer or a siding contractor to open the wall and look.
For a ground-floor window from a stepladder, the same OSHA card says to keep three points of contact, face the ladder, and not stand on a top step that was not designed as a step.
Why exterior caulk is a water job, not a draft job
Most people caulk the outside of a window to stop drafts. That is only half the reason, and usually the smaller half.
The outside bead is your first line against rain. It keeps water from running into the joint between the window and the wall. But a window is also built so that water that does get in can find its way back out. Some water always gets behind siding and trim, and the window and its flashing are designed to drain it.
The air leaks that make a room feel drafty are often on the inside, between the window jamb and the wall framing, behind the interior trim. ENERGY STAR's guide to sealing behind window and door trim, which we read on September 27, 2026, covers that job. It also says plainly that these projects "may have less impact on energy use than those in the attic and basement."
So treat the outside bead as weather protection first. If you want to know where your house actually loses air, start with a smoke pencil test for air leaks, then decide how much time the windows deserve.
Where to caulk around windows exterior joints
Walk around the house and look at each window from the outside. You are looking for four joints.
- Trim or brickmold to siding, along both sides. This vertical joint is the main one. Water runs down it in every storm.
- The head trim to siding, across the top, where there is no flashing. If the window has a metal or vinyl drip cap over the head trim, read the next section before you touch it.
- The window frame to its own trim, where the frame meets a wood casing on many older houses.
- Brick or stucco to frame. Masonry does not flex the way siding does, so the joint has to take the movement. Keep the bead continuous on the top and sides.
Check the old caulk first. Press it with a fingernail. If it is hard, cracked, shrunken away from one side, or peeling, it needs to come out. A bead that is still soft and bonded on both sides can stay.
Look at the siding next to the window, too. A split siding board is a separate repair, not a caulk job, and a gap you can see daylight through may point to a flashing problem rather than a missing bead.
Where not to caulk: the drainage paths
This is the part that decides whether your caulking helps or hurts. Seal these and you can trap water in the wall.
Weep holes. Many vinyl, aluminum and clad windows have small slots on the outside face of the bottom frame. They drain water out of the sill track. Never seal them. Clear them gently with a thin wire or a pipe cleaner instead.
Under the sill. Many exterior sills are sloped to shed water, and the gap underneath lets that water escape. Leave the bottom open unless your window maker's instructions say otherwise.
Between the head flashing and the siding. Andersen's article on window install mistakes, read September 27, 2026, warns that sealant applied at the window head can trap "any water that might end up behind the cladding at the top of the window." The drip cap sheds water outward. Leave its top edge open.
Siding trim channels. On vinyl siding, the channel that wraps a window is a trim piece, not a seal. Check the siding maker's instructions before you close it with caulk.
The same Andersen article gives the rule that covers all of these: follow the manufacturer's instructions on whether a space should stay open. If you cannot find them, ask the company that installed the window.
With what: choosing an exterior sealant
There is no single best caulk for every window. The right one depends on the two surfaces it has to hold together.
Read the tube, not the brand. Look for four things on the label:
- Exterior use. The label should say the product is rated for outdoor joints and weather exposure.
- Compatibility with your surfaces. Vinyl, aluminum, painted wood, brick and stucco are different. Andersen's install article notes that tube sealants and tape adhesives "have limitations as to what they will effectively adhere to" and tells readers to check the manufacturer's technical data sheets.
- Joint movement. Many exterior sealants list ASTM C920, the standard specification for elastomeric joint sealants, and a movement class. A joint between two materials that expand at different rates needs a sealant that can stretch with them.
- Paintability. If you plan to paint the trim, the label will say whether the product takes paint.
For gap size, ENERGY STAR's trim guide says caulk is for "gaps a quarter inch or less." For a wider joint, backer rod goes in first so the bead does not sink into the cavity.
We match sealant to gap in more detail in our guide to caulk, foam and backer rod.
How to lay a bead that lasts
Do this only from the ground or a stepladder you can stand on safely. The steps are the same on every window.
- Remove the old caulk. Cut along both edges with a utility knife and pull it out. Scrape off what is left. On a pre-1978 house, stop and reread the lead paint note above.
- Clean and dry the joint. Brush out dust and loose paint. Sealant bonds poorly to dirt or damp wood. Pick a dry day with no rain in the forecast and follow the temperature range on the tube.
- Fill deep gaps with backer rod. Press backer rod into any gap wider than a quarter inch so the sealant bridges the joint instead of filling it.
- Cut the nozzle small. A small opening gives you more control. You can always cut it bigger.
- Run one continuous bead. Push the bead ahead of the nozzle so it fills the joint and touches both sides.
- Tool it. Smooth it with a tooling spoon or a damp finger so it presses against both surfaces.
- Check the drainage. Before you move the ladder, confirm the weep holes and the bottom gap are still open.
Let the bead cure before rain or paint, following the times on the tube.
When caulk is the wrong fix
Caulk seals a joint. It does not fix a window, and it can hide problems you want to see.
Water inside the wall. Stains under a window inside the house, soft drywall or a musty smell usually mean water is getting behind the flashing. More caulk on the outside will not reach it, and it can make things worse by holding water in. This is a window installer or siding contractor job.
Drafts at the sash. If the cold air comes from where the window opens and closes, the problem is the sash seal, not the exterior joint. Caulking a moving part can seal the window shut. That is a different job, and not one this article covers.
Soft or rotten wood. Caulk will not hold to rotten trim. The trim needs repair or replacement first.
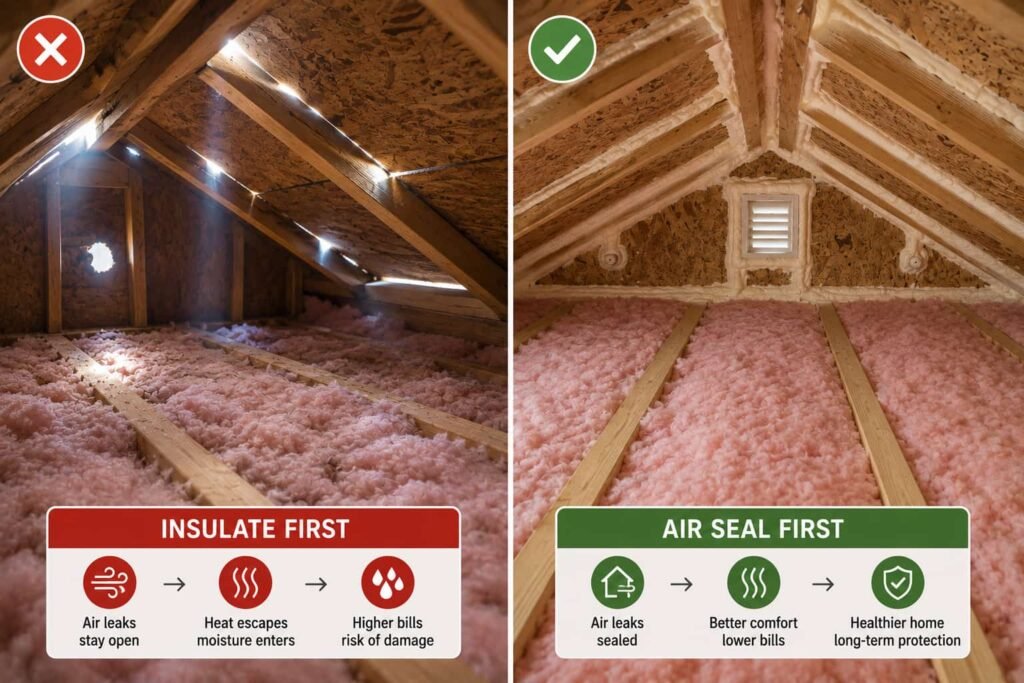
A house that is leaky everywhere. If the whole house feels drafty, the windows are rarely the main cause. A DIY home energy audit shows where the loss is, and our guide to where the air leaks actually are walks through the bigger targets in the attic and basement.
FAQ
Should I caulk around windows on the outside or the inside?
Both, for different jobs. The exterior bead keeps rain out of the joint between the window and the wall. Sealing behind the interior trim is what stops many air leaks. ENERGY STAR's trim-sealing guide covers the inside job.
Do I caulk the bottom of an exterior window?
Usually not across the whole bottom. Keep the weep holes clear and leave the drainage gap under the sill open. Your window maker's instructions are the final word for your model.
How often should exterior window caulk be replaced?
We could not find a public source that sets a schedule, so we will not give one. Check it once a year and replace it when it cracks, shrinks, hardens or pulls away from one side.
What if the gap is wider than a quarter inch?
Press backer rod into the gap first, then caulk over it. ENERGY STAR's guide says caulk is for gaps a quarter inch or less. A very large or uneven gap can point to an installation problem worth having a window contractor look at.
Can I caulk over old caulk?
It is better not to. New sealant bonds poorly to old, dirty or failing caulk. Cut the old bead out, clean the joint and start fresh.