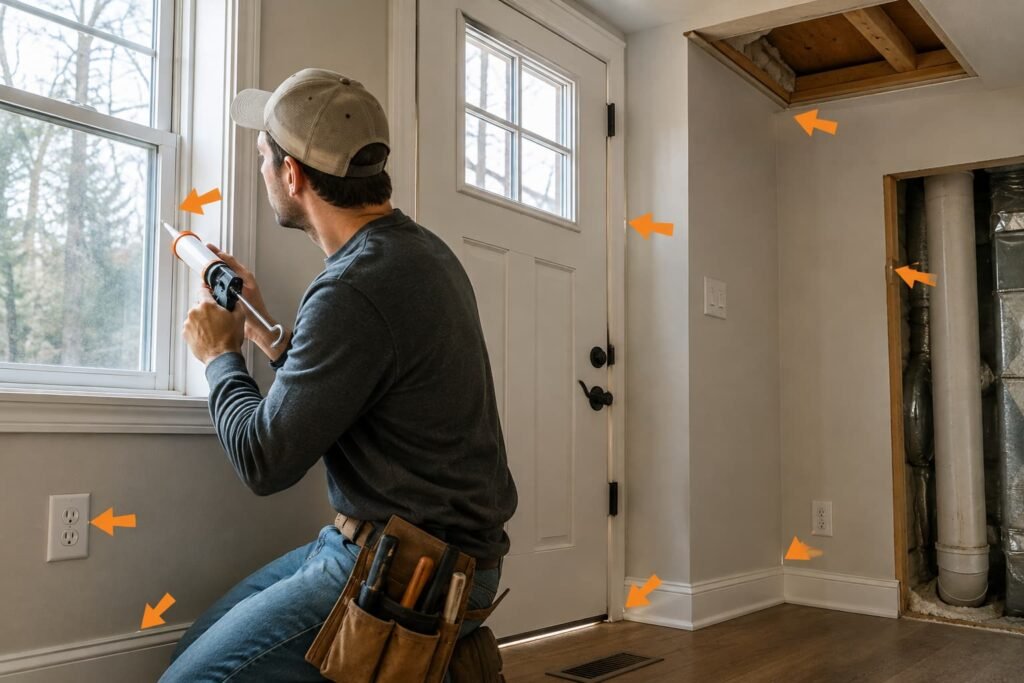
Sill plate air sealing means closing the joint where your wood-framed walls sit on top of the concrete foundation, a joint that is rarely flat and almost never airtight on its own. On new construction, a foam sill sealer gasket goes down before the sill plate is bolted on. On an existing house, the fix is caulk for gaps under about a quarter inch and expanding foam for anything wider, plus a bead where the sill meets the rim joist above it. This ring around the base of the house is one of the leakiest joints in the whole envelope, and most of the fix is an afternoon with a caulk gun.

This is the low point in the leak map covered in our guide to where the leaks in a house actually are: warm air pushes out at the top of the house, and something has to replace it, so cold outside air gets pulled in at the sill, the rim joist and the foundation. Sealing the top without touching the bottom leaves half the stack effect working against you.
What a Sill Plate Is, and Why This Joint Leaks
The sill plate, also called the mud sill, is the first piece of framing lumber in the house. It sits flat on top of the concrete foundation wall, bolted down with anchor bolts embedded in the concrete, and everything above it, the rim joist, the subfloor, the wall studs, rests on this one board. It is the transition point between two completely different materials: rough, porous concrete below and dimensional lumber above.
That transition is the problem. Concrete is never perfectly flat. A foundation contractor's screed pass leaves the top of the wall with small dips, high spots, and a slightly different level at every anchor bolt. When the sill plate lands on that surface, it bridges the high points and leaves gaps at the low ones, gaps that run the entire perimeter of the house. Add the stack effect pulling air in at the bottom of the building, and this joint becomes a continuous leak path rather than an occasional crack.
Sill Plate Air Sealing: What Every Guide Agrees On
Every credible source on this topic lands on the same short list of materials, matched to the size of the gap and the stage of construction.
On new construction, a sill sealer, sometimes called a sill gasket, is the standard fix. It is a foam strip, usually about a quarter inch thick and sold in rolls up to about ten inches wide, that rolls out on top of the concrete before the sill plate goes down. A closed-cell version does two jobs at once: it seals the air gap, and it acts as a capillary break, keeping moisture that migrates up through the concrete away from the wood. The Building America Solution Center, a US Department of Energy resource, describes sealing the seam between the sill plate and the rim joist above it with caulk as a separate step from the gasket, since the gasket alone does not address every joint in the assembly (accessed 2026-09-18).
On an existing house, you are not installing a gasket after the fact, so the retrofit fix is sealant matched to gap width. ENERGY STAR's own do-it-yourself guidance is specific about this: caulk is best for sealing gaps or cracks of about a quarter inch or less, and spray foam is for filling gaps from a quarter inch up to about three inches (ENERGY STAR, Sealing Air Leaks: Basement guide, accessed 2026-09-18). That single rule, caulk for small, foam for wide, covers most of what a homeowner needs to decide at the sill.
When the Gap Is Bigger Than the Product You Bought
Here is what most quick guides skip. A standard sill sealer gasket is about a quarter inch thick, and it works well when the top of the foundation wall is smooth. Many foundations are not smooth. A rough-troweled or hand-finished pour can leave gaps under the sill plate that are wider than a quarter inch in places and barely touching in others, all in the same twenty-foot run of wall. A flat foam strip laid over that surface still leaves a leak path wherever the concrete dips away from it.
If you are looking at an existing gap and it clearly varies in width along the wall, do not reach for one product and call it done. Measure the widest point first. Where the gap stays under a quarter inch, acrylic latex or siliconized acrylic caulk seals it in one pass. Where it opens wider, push a foam backer rod into the gap first so the caulk forms a thin, flexible skin instead of a thick plug that cracks and pulls away from one side. Where the gap is wide and irregular for a long stretch, canned polyurethane foam fills the void and expands into the low spots a bead of caulk cannot reach. Working the same stretch of wall with three different techniques in three different places is normal here, not a sign you are doing it wrong.
One more distinction that gets missed: a gap that has clearly opened up over time, rather than one that was always there, is worth a second look before you seal it. Settling shrinks lumber and can widen a joint that was tight when the house was built, and that is still a sealing job. A gap that comes with a stair-step crack in the foundation wall, a door or window that has started sticking, or a visibly out-of-level sill is a different problem, covered below.
How to Seal an Existing Sill Plate From Inside
Most retrofit sealing happens from a basement or crawl space, working along the inside face of the foundation wall where the sill plate sits on top of it.
- Confirm it is actually the sill plate leaking. A DIY home energy audit with a smoke pencil or an incense stick on a cold, windy day will show air movement at the joint. Hold the smoke near the seam where the top of the foundation meets the bottom of the framing; a wavering or pulled stream of smoke confirms a leak there rather than somewhere else nearby.
- Clear the joint. Vacuum loose debris, cobwebs, and old crumbling caulk from the gap before applying anything new. Sealant does not bond to dust.
- Match the material to the gap, using the widths above: caulk under a quarter inch, backer rod plus caulk for a wide but shallow gap, canned foam for a wide and irregular one.
- Seal the seam above it too. The joint where the top of the sill plate meets the rim joist is a separate leak path, and it is easy to seal in the same session with the same materials. Our guide to insulating a rim joist covers the rest of that band, since the sill plate and the rim joist above it are usually treated as one project.
- Let it cure, then check your work. A finished sealing project is hard to grade by feel alone. A blower door test run by an energy auditor gives you a before-and-after number, which is the only real way to know whether the work changed anything.
Where This Stops Being a Caulk-Gun Job
Sealing a sill plate is ordinary homeowner work in most cases. It stops being that in a short list of situations, and each one hands off to someone with a license or a trade for a reason.
| What you find at the sill | Why it stops you | Who takes over |
|---|---|---|
| Soft, spongy, or crumbling wood in the sill plate | Rot has already compromised the framing that carries the house | A structural engineer or foundation contractor evaluates it before anything is sealed over it |
| Mud tubes, hollow-sounding wood, or visible tunneling | Signs consistent with termite activity, which a sealant will hide rather than fix | A licensed pest control professional inspects and treats first |
| A stepped or widening crack in the foundation wall itself | This is a structural question, not an air-sealing one | A structural engineer or licensed foundation contractor |
| Old wiring stapled along or run through the sill plate | Insulation or foam against aging wiring, particularly knob-and-tube, is a fire hazard | A licensed electrician assesses it before the area is enclosed |
| A gas line, water line, or vent penetrating the sill area | Sealing around a fitting is different from sealing over it | The relevant licensed trade for that line |
If none of those apply, the joint in front of you is exactly what it looks like: a gap between two materials, closed with the right sealant for its width.
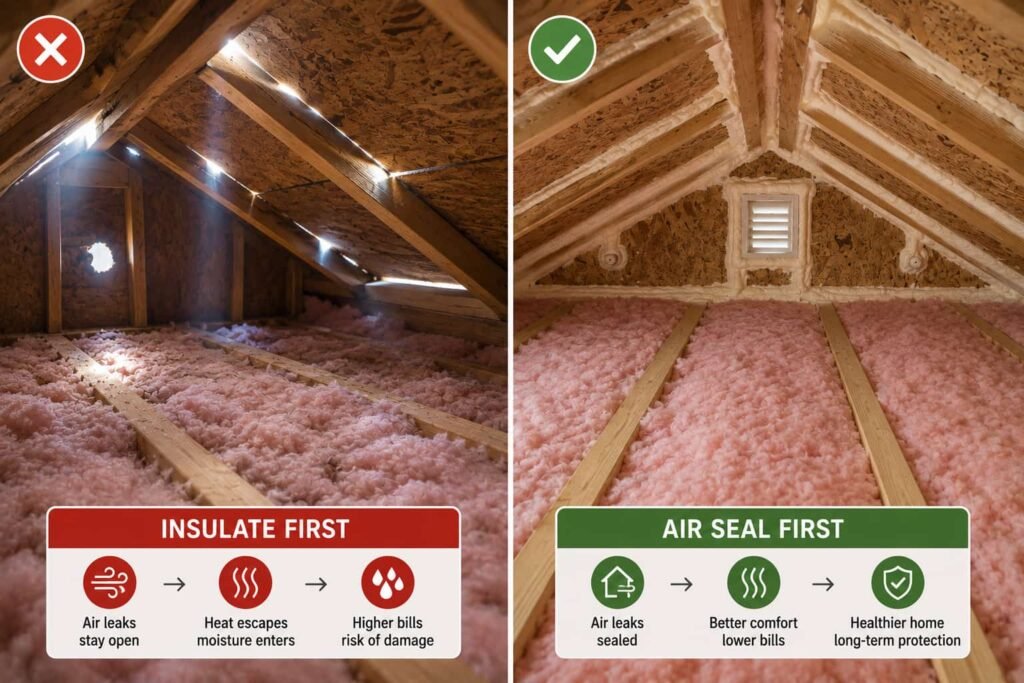
Order Matters: Seal Before You Insulate
Sealing the sill plate before insulating the rim joist above it, rather than after, is not a preference. Trapping an unsealed air leak behind new insulation hides the draft without stopping it, and it can leave a cold, damp channel exactly where you do not want one. The full reasoning, and why this applies to every part of the house and not just the foundation, is in air seal before you insulate.
Frequently Asked Questions
What is the difference between a sill sealer and sealing the sill plate with caulk?
A sill sealer is a foam gasket installed during construction, before the sill plate is bolted to the foundation. Sealing with caulk or foam is what you do afterward, on a house that is already built, to close a gap that the original sill sealer either did not fully cover or that has opened up over time.
Can I seal my sill plate from outside instead of the basement?
Sometimes, where the sill is exposed above grade and not hidden behind siding, but most homes have siding or a water table trim covering that seam, and cutting into it is a bigger job than it looks. For most retrofits, the inside face, from a basement or crawl space, is the practical access point.
Does sealing the sill plate really matter compared to the attic?
Both matter, and they work together rather than competing. The stack effect pulls air out at the top of the house and in at the bottom, so a sealed attic with an open sill plate still leaves half the pressure loop working. ENERGY STAR states that sealing air leaks and adding insulation together can save up to 10% on your annual energy bills (accessed 2026-09-18); that figure covers the whole house working as a system, sill plate included.
What if the gap under my sill plate is more than three inches wide?
That is larger than canned foam is meant to fill in one pass and is worth a second look rather than more cans. A gap that size, especially if it runs long or uneven, can be a sign the sill was never properly set on the foundation. A foundation contractor or a certified energy auditor can tell you whether it is a sealing job or a structural one.
Will spray foam attract pests if I seal the sill plate with it?
Canned polyurethane foam is not a food source and does not itself attract insects, but it also is not a substitute for a termite shield or pest inspection. If you have any sign of wood-destroying insects at the sill, as in the table above, get that assessed before sealing, not instead of it.