A thermal bridging house shows itself as cold stripes: run a hand across an exterior wall in winter and the spots over the studs feel colder than the insulated bays between them, because wood and framing conduct heat faster than the insulation around them. The fix is not a thicker batt in the same cavity. It is breaking that conductive path with continuous insulation on the outside of the framing, or accepting the loss and sealing and insulating everything else well. This page covers where thermal bridges hide, how to spot one without special tools, and what order to fix things in.

What Causes Thermal Bridging in a House
Every wall, floor and ceiling assembly is a mix of materials, and heat takes the path of least resistance through whichever one conducts fastest. The Department of Energy's Energy Saver guidance on insulation (read 2026-09-18) explains that the overall R-value of a wall or ceiling ends up lower than the R-value of the insulation alone, because heat flows more readily through the studs, joists and other framing than through the insulation packed between them. A 2×6 stud has a fraction of the insulating value of the fiberglass or cellulose beside it, so every stud, header, plate and joist is a small bridge for heat to cross. None of this is a defect. It is how standard wood framing behaves, and it is the reason two houses with the same rated insulation can perform differently depending on how much framing sits inside the wall.
How to Spot a Thermal Bridging House Problem
You do not need a thermal camera to find the pattern, though one makes it easier to confirm. On a cold night, run a bare hand slowly across an exterior wall at stud spacing, usually every 16 or 24 inches. A thermal bridging house problem feels like faint vertical cold stripes at that spacing, sometimes visible as slightly darker lines in the paint or a thin line of dust that has settled along a cooler surface over years. Ceilings show the same pattern along joists, and corners and headers above windows and doors often run colder than the field of the wall because more framing gathers there. An infrared camera, whether rented, borrowed, or used during a professional energy assessment, turns the same pattern into a clear image and is one of the tools covered in our DIY home energy audit guide, alongside the simpler checks that need no equipment at all.
Thermal Bridging vs. Air Leaks at a Glance
Homeowners often lump these two together because both feel like a cold spot on a wall, but they are different problems with different fixes, and mixing them up is the most common reason a repair does not work.
| Thermal bridging | Air leak | |
|---|---|---|
| What it is | Heat conducting through a solid material such as a stud, header or joist | Air moving through a gap, crack or open cavity |
| How it feels | A steady cold stripe or patch, same temperature whether it is windy or still | A cold draft that gets worse on windy or very cold days |
| How you find it | Hand-check at stud spacing, or an infrared camera | Smoke pencil, incense stick, or a blower door test |
| What fixes it | Continuous insulation across the outside of the framing | Caulk, foam, gaskets, and sealing the specific gap |
| Does more insulation in the cavity fix it | No, only partly | Not directly; sealing is the fix, not more fill |
Where Thermal Bridges Hide in a Typical Frame House
A few locations account for most of the effect in an average wood-framed house:
- Wall studs, headers and corners. Every stud, and especially the doubled or tripled framing at corners and window and door headers, conducts more than the cavity beside it.
- Rim joists. The band of framing where the floor meets the foundation is often thin on insulation and heavy on framing, making it one of the coldest lines in the house. Our rim joist insulation guide covers fixing it by hand.
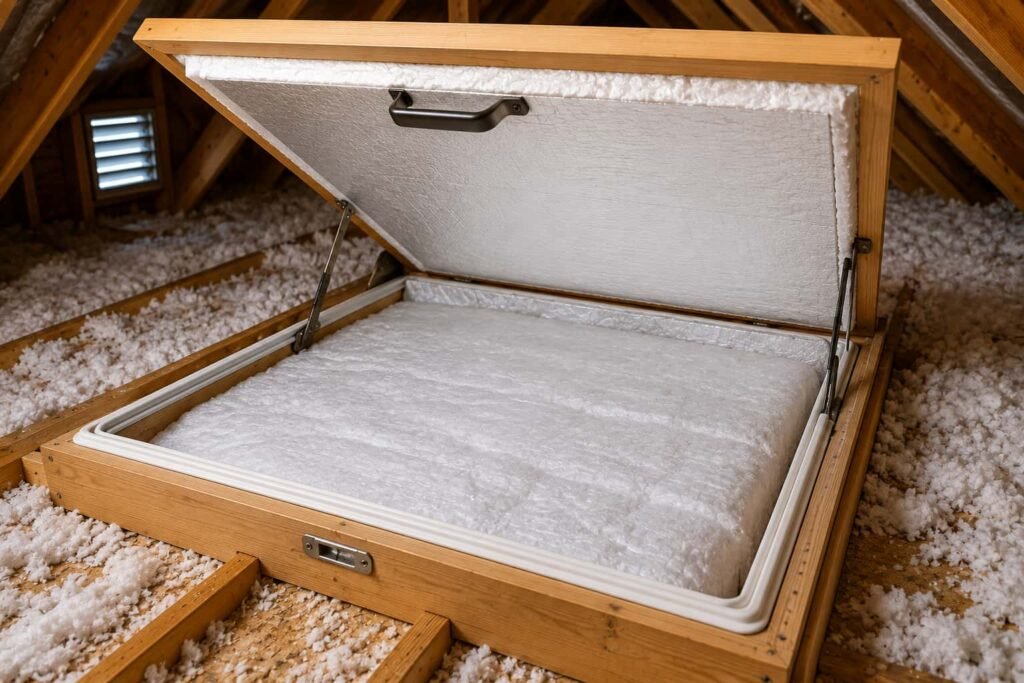
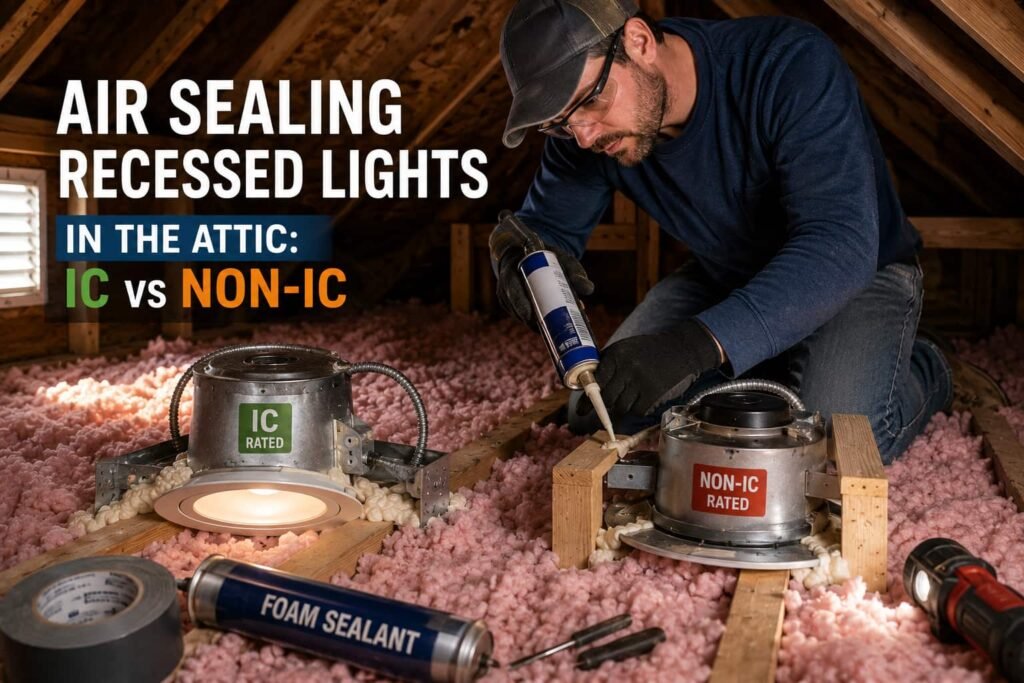
- Attic top plates. Where interior and exterior walls meet the attic floor, framing and small gaps combine, covered in our guide to sealing attic top plates and penetrations.
- Knee walls and cantilevered floors. Bonus rooms and floors that overhang the framing below carry extra wood and extra exposed surface area, which is part of why those rooms never hold temperature.
- Slab edges and foundation-to-wall junctions. Concrete conducts heat readily, and an uninsulated slab edge is a continuous bridge along the entire foundation perimeter.
Why It Matters More As the Rest of the House Gets Tighter
Thermal bridging is easy to ignore in a leaky house, because air leakage usually wastes more energy than conduction through framing. That changes once the obvious leaks are sealed. As a house gets tighter and better insulated overall, the framing becomes a larger share of what remains, since heat that can no longer ride out on moving air still conducts steadily through every stud and joist. Cold surfaces also invite condensation: warm, humid indoor air meets a cold stripe on the drywall or in a wall cavity, and repeated condensation there is a known path to mold growth over time. ENERGY STAR estimates (read 2026-09-18) that air sealing a home and adding insulation together save homeowners an average of 15 percent on heating and cooling costs; that figure covers the combined project, not thermal bridging fixes alone, and no public source we found isolates the framing-conduction share by itself, so this page will not print one.
Fix It in the Right Order
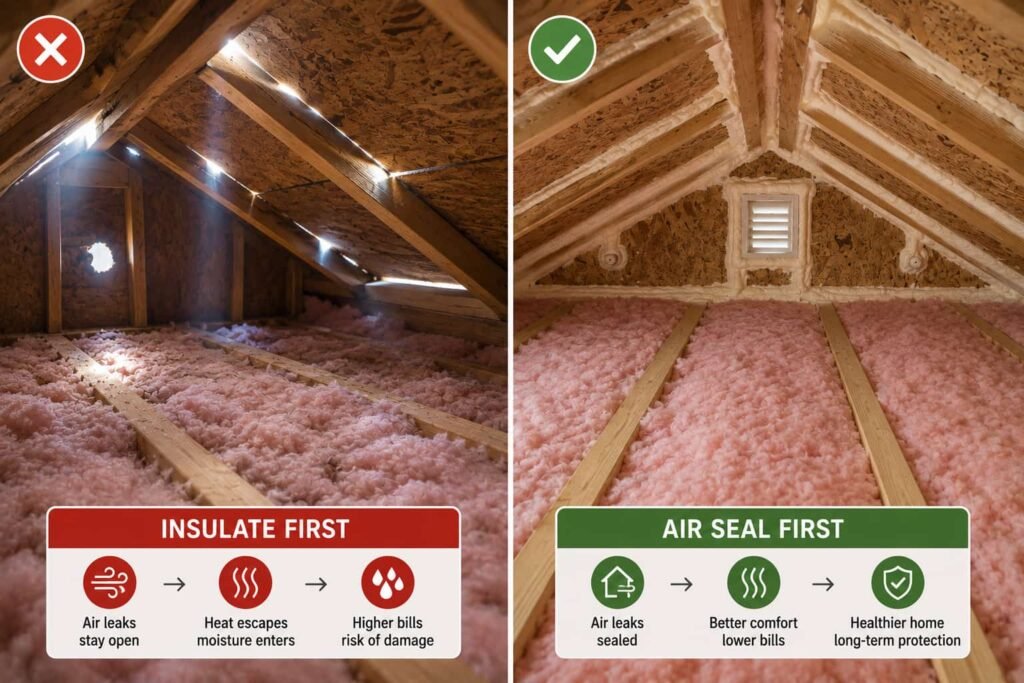
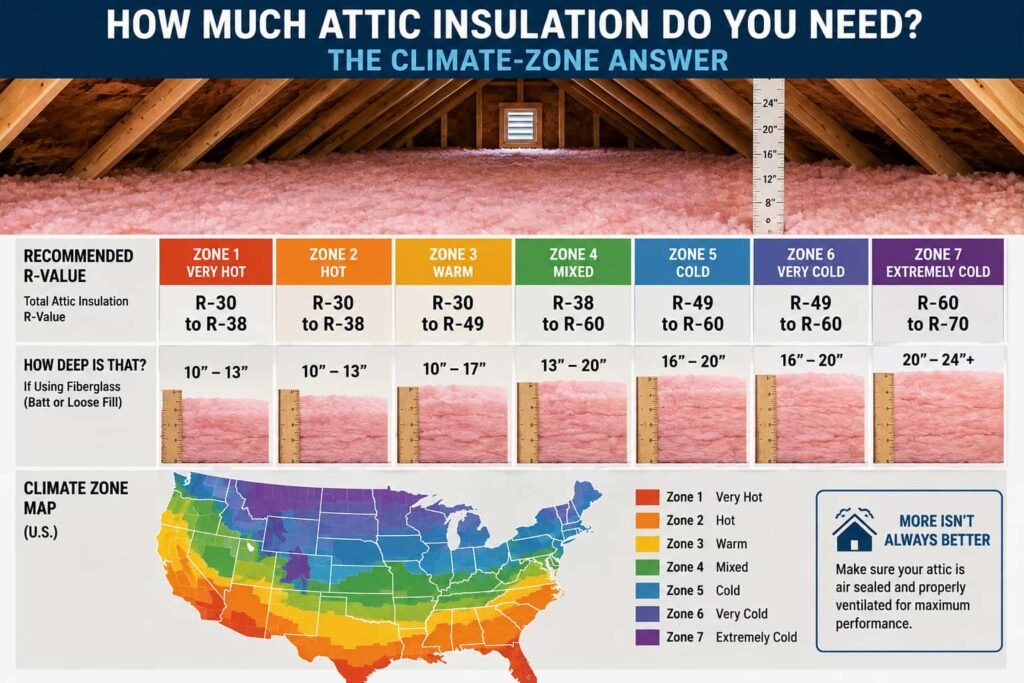
Sealing and insulating still come first, because most of a typical house's heat loss is air movement through gaps, not conduction through studs. Our guide on air sealing before you insulate sets out why that sequence is not optional. Thermal bridging is the layer underneath that: once the obvious leaks are closed and cavity insulation is at the level your climate zone calls for under the IECC, the remaining loss through framing is what continuous insulation addresses. Continuous insulation means a layer of rigid foam or mineral wool board applied across the entire exterior of the framing, uninterrupted by studs, so heat has to cross the same insulating layer everywhere instead of finding a bare stud to travel through. It is most practical during re-siding or new construction, because it adds thickness to the wall assembly, and many local energy codes already require some continuous insulation at re-siding for exactly this reason; your building department confirms what applies in your jurisdiction.
What You Can Do Yourself, and What to Hand to a Contractor
Targeted, single-location thermal bridges are reasonable do-it-yourself projects: rim joist rigid foam from inside a basement or crawl space, attic top plate sealing, and knee wall insulation are hands-on jobs a careful homeowner can do with basic tools. Before fastening anything into framing, check for wiring and plumbing runs first; a stud finder that also flags metal, plus a known sense of where outlets and switch boxes sit, keeps a drill or staple gun away from a live wire or a pipe. Whole-wall continuous exterior insulation tied into new siding, flashing and window trim is a bigger job. It affects water management at every window and door opening, and most homeowners hire a siding or insulation contractor for that scope rather than doing it themselves. If you are not sure which category a project falls into, an energy auditor or insulation contractor can walk the house with you before you buy materials.
Is It Worth Fixing? Be Honest About the Cost and Disruption
Not every thermal bridge is worth chasing on its own. Adding continuous insulation just to address framing conduction, on siding that is otherwise sound, is a hard case to justify by itself: it means removing and replacing siding, trim and flashing details around every window and door, which is real money and real disruption for a gain that is smaller than what sealing and cavity insulation usually deliver first. Where it makes sense on its own timeline is when the siding or rim joist area is already open for another reason, such as a planned re-siding job or a rim joist that needs rot repair anyway. Outside of those windows, the better use of a limited budget is almost always finishing the sealing and cavity insulation work first, then revisiting continuous insulation the next time the exterior is opened up. A contractor's pitch to add exterior foam to an otherwise healthy, already-sealed house is worth a second opinion before you sign.
Frequently Asked Questions
Is thermal bridging the same thing as an air leak?
No. An air leak is a gap that lets air move through the building envelope, found with a smoke pencil or a blower door test. Thermal bridging is heat conducting through a solid material, like a stud or a joist, even where there is no gap at all. A wall can be perfectly sealed and still have significant thermal bridging.
Can adding more insulation in the same cavity fix thermal bridging?
Only partly. More insulation in the cavity between studs raises the R-value of that cavity, but it does not change the fact that the stud itself still conducts more than the insulation beside it. Reducing the effect requires continuous insulation across the outside of the framing, not more material packed between the studs.
Does thermal bridging matter in an older, leakier house?
Less than air leakage does, at first. In a house with significant air leaks, sealing those gaps usually saves more than addressing thermal bridging. As sealing and cavity insulation improve, framing conduction becomes a larger share of what is left, which is why newer high-performance homes pay close attention to it from the start.
Do metal-framed additions or garages have worse thermal bridging than wood-framed houses?
Generally yes, because steel conducts heat far more readily than wood. Any metal framing, brackets or fasteners that cross from outside to inside a wall assembly create a stronger thermal bridge than an equivalent piece of wood framing would.
Should I fix thermal bridging before or after a home energy audit?
After, if you have not had one. A walk-through or professional audit tells you whether the cold stripes you are feeling are actually thermal bridging, an air leak, or both, and it points to whichever locations are losing the most heat first, so the work you pay for targets the real problem instead of a guess.
Sources
- U.S. Department of Energy, Energy Saver, "Insulation", read 2026-09-18.
- ENERGY STAR, "Why Seal and Insulate?", read 2026-09-18.
Building code and climate zone requirements vary by location. Where this page names a code figure, it is a national baseline; your local building department governs what applies to your house.